
Leather Cleaning vs. Conditioning: A Simple Guide for Leather Jacket Care
Here is a mistake a lot of leather jacket owners make: they clean the jacket, skip the conditioner, and wonder why it starts to crack two winters later. Or they rub conditioner into a dirty jacket and seal a season’s worth of grime straight into the grain.
Cleaning and conditioning are not the same step. They do different things, and the order matters.
This guide covers exactly what each step does, how to do both correctly at home without damaging the leather, and the situations, especially here in Washington, D.C., where humid summers and dry winters beat up leather jackets year round. Using the services of a professional leather and suede cleaning specialist is indeed the smarter call.
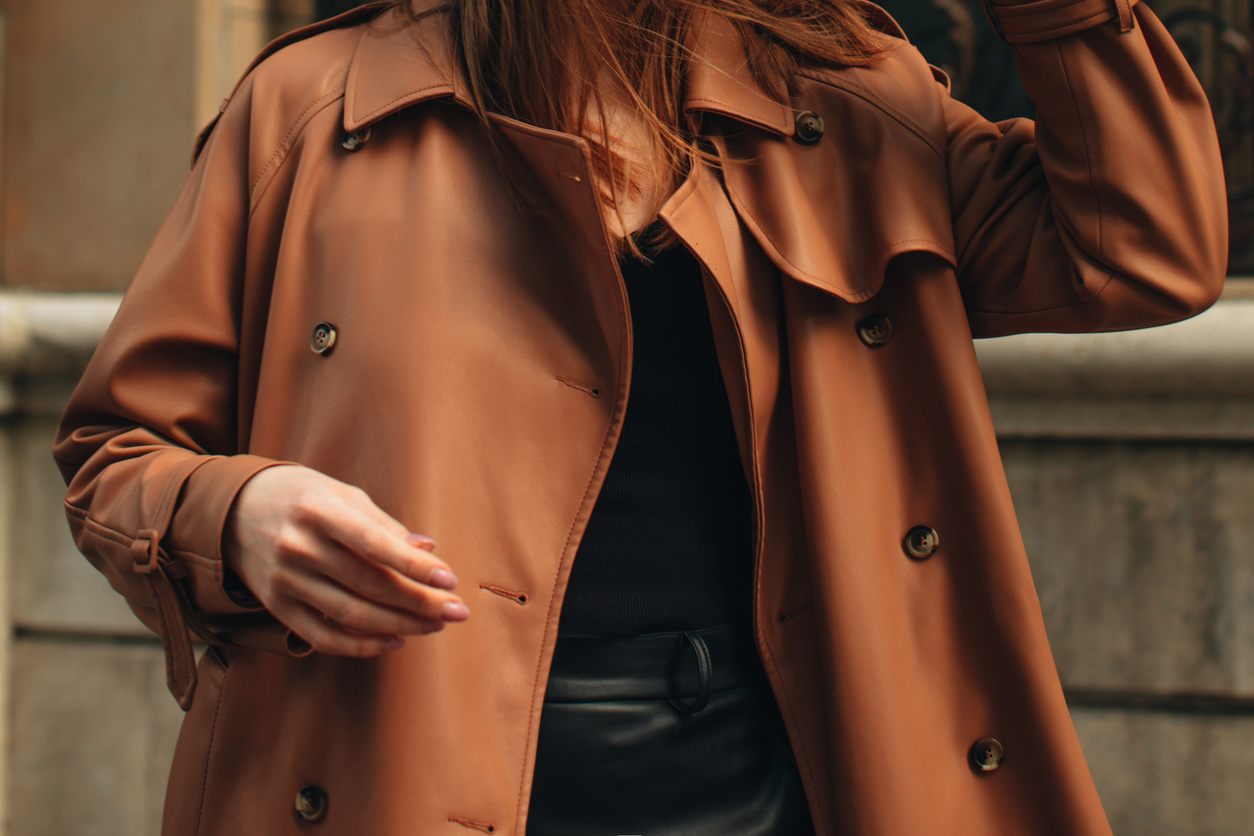
Cleaning and Conditioning Are Two Different Steps
Before any advice, it helps to understand what each step actually does, because once you see the logic, you won’t skip either again.
What Cleaning Actually Removes From Leather
Every time you wear your jacket, it picks up more than you can see. Skin oils from your neck and wrists. Environmental dust. Moisture. Whatever residue was left over from the last wipe down. Over time, that buildup works its way into the grain of the leather.
Cleaning strips all of that. It brings the leather back to its actual surface, which is exactly why cleaning has to come first. Apply conditioner over a layer of grime and you do not nourish the leather. You push the contaminants deeper in.
What Conditioning Does and Why Leather Needs It
Leather is an animal hide. Once it is separated from its original source of moisture, it slowly dries out. That process speeds up in heated offices, air conditioned spaces, and for D.C. jacket owners, dry winter air.
Conditioning puts back the oils that keep leather supple and prevents surface cracking. Without it, a clean jacket will still deteriorate. The fibers stiffen, the surface loses its finish, and eventually you get cracks that cannot be reversed.
The simple rule: Cleaning = removes what’s on the surface. Conditioning = replaces what the leather has lost. Skip one and the other can’t do its full job. Both together is a complete care routine.
How to Clean a Leather Jacket at Home Without Damaging It
What You’ll Need (Keep It Simple)
| You Need | Use It For | Avoid These Instead |
| Soft, lint free cloth | Wiping and buffing | Baby wipes (chemicals strip leather finish) |
| Leather specific cleaner | Lifting surface grime | Alcohol based products (dry out the grain aggressively) |
| Mild soap + water, diluted (for finished leather only) | Light soil in a pinch | All purpose household cleaners (too harsh, wrong pH) |
| Anything with bleach (permanent damage) |
The wrong product strips the finish or dries out the grain. You do not need a cabinet full of supplies. Just the right one.
The Cleaning Process: Step by Step
- Dampen your cloth. Wring it out thoroughly. Barely moist, not wet. You never want water dripping onto the leather.
- Apply a small amount of cleaner to the cloth. Not directly onto the jacket. Putting product straight on leather risks spotting and uneven application.
- Work in small sections using light, circular motions. Do not scrub. Let the cleaner do the work. Move methodically so you don’t miss spots or overwork one area.
- Follow each section with a dry cloth immediately to lift residue before it sits. This prevents streaking.
- Hang and air dry completely. Use a wide, padded hanger in a well ventilated area. Keep it away from direct sunlight, radiators, and hairdryers. Wait until fully dry before conditioning. This usually takes a few hours.
Quick Tip: Heat is one of the fastest ways to damage leather. Never speed up drying with a hairdryer or by hanging the jacket near a heat source. Heat dries leather unevenly and can cause cracking or warping that’s impossible to reverse.
Spots and Stains: What You Can Handle at Home vs. What You Can’t
| Stain Type | Can You Treat It at Home? | What to Do |
| Light surface marks from handling | Yes | Buff gently with a soft cloth during the cleaning step. Often comes off without any product. |
| Minor water spots on finished leather | Usually | Let it dry naturally, then buff. A damp cloth wipe over the full panel can even it out. |
| Ink stains | No | Ink bonds to leather quickly. Home treatment almost always spreads it. |
| Oil or grease stains | No | Oil penetrates the grain. Surface wiping doesn’t reach it. |
| Mold or mildew | No | Requires controlled treatment to avoid spreading spores deeper into the leather. |
| Dye transfer from other fabrics | No | Dye has bonded to the finish. Aggressive removal damages the leather’s own color. |
If you are not sure whether a stain is something you can handle, leave it alone and get a professional opinion before you touch it. Trying to treat these at home almost always spreads the stain or drives it deeper.
How to Condition a Leather Jacket After Cleaning
Once the jacket is clean and fully dry, conditioning is straightforward. The one easy mistake is using too much.
Choosing the Right Conditioner for Your Jacket’s Leather Type
| Leather Type | How to Identify It | What to Use |
| Finished leather | Water beads on the surface | Most standard leather conditioners work well |
| Aniline leather | Water absorbs quickly and darkens the surface | Products specifically labeled for aniline leather only |
| Nubuck leather | Slightly fuzzy texture, similar to suede | Nubuck specific conditioner only |
Most leather jackets are finished leather. But checking takes 10 seconds and saves you from accidentally darkening or staining a porous leather with the wrong product.
How Much to Use and How to Apply It
- Put a small amount on a cloth (about the size of a dime) – not directly on the jacket. Same principle as cleaning.
- Work it using gentle circular motions. Cover the full surface evenly. Pay attention to areas that flex the most (elbows, shoulders, front panels near the zipper) since these dry out fastest.
- Let it absorb for 10 to 15 minutes. Don’t touch it during this time. The leather needs a chance to drink it in.
- Buff away the excess with a clean, dry cloth. The surface should feel smooth and supple, not greasy or sticky.
Watch Out: Signs You Used Too Much
- The leather feels tacky or oily to the touch after buffing
- Light colored leather has darkened noticeably
- The surface has a visible sheen that looks wet rather than natural
If any of these happen, buff more firmly with a dry cloth. The excess needs to come off. Over conditioning doesn’t protect leather. It attracts dust, clogs the grain, and can create a breeding ground for mold in humid storage.
When Home Care Isn’t Enough: Signs Your Jacket Needs Professional Leather and Suede Cleaning
Home care handles the routine maintenance well. These situations are different, and attempting to DIY them usually makes things worse.
Visible Mold, Deep Staining, or a Persistent Odor
These three issues share something in common: home cleaning addresses the surface but not the source.
- Mold requires controlled treatment to avoid spreading spores further into the leather or lining. Wiping mold off the surface pushes it deeper and spreads it across a wider area. You need someone who can treat it without contaminating the rest of the jacket.
- Deep stains, especially ink, oil, or anything that has had time to set, need solvent based processes not available in consumer products. Scrubbing a deep stain at home doesn’t just fail. It damages the finish on top of the stain, giving you two problems instead of one.
- Embedded odors from smoke, mildew, or body oil that have soaked into the lining cannot be fixed by wiping down the exterior. The smell is in the fabric inside, not on the leather outside. Professional cleaning reaches the lining and interior where the odor actually lives.
Jackets With Suede Panels, Embroidery, or Heavy Hardware
Mixed material jackets are the most common source of accidental DIY damage. Here is why each component creates risk:
- Suede panels react to moisture completely differently than finished leather. Getting the balance right is genuinely difficult without training. Suede is one of the most damage prone materials to clean at home.
- Embroidery can snag on cleaning cloths, shrink, or distort when exposed to cleaning products meant for smooth leather.
- Metal hardware (zippers, studs, buckles) can corrode or oxidize when cleaning solutions make contact with the metal.
If your jacket has multiple materials or significant detailing, it belongs with a specialist who handles each component differently.
Vintage or High Value Leather You Cannot Afford to Experiment On
A vintage jacket, a designer piece, or anything with real sentimental value has too much at stake for trial and error. The leather may be decades old, partially dried, previously treated with unknown products, or constructed with techniques that respond unpredictably to modern cleaning agents.
Experience Precision Leather Care with Parkway Custom Drycleaning
Proper cleaning and conditioning are what keep your leather jacket looking better with age, not cracked, faded, or worn out. Home care handles the routine. But when a jacket needs more than a wipe down and conditioner can manage – when there’s mold, deep staining, mixed materials, or a piece that’s too valuable to risk – it’s time to bring it in.
For leather jackets that need more than home care can restore, Parkway Custom Drycleaning serving the greater Washington, D.C. area including Maryland and Northern Virginia, specializes in professional leather and suede cleaning. Bring in your jacket and we’ll assess what it needs before we give it any treatment.
Contact Parkway Custom Drycleaning today, or schedule your Leather and Suede Cleaning Service online.
Phone: (301) 965-1828
Email: admin@parkwaydrycleaning.com